Quality control involving a visual inspection is an integral part of the final stage of industrial assembly of electronic modules. These checks make sure that all components are present and accurately positioned. Automatic image processing systems from Vision & Control can perform this task more cost effectively, faster, and particularly more accurately than manual checks are capable of.
For example in the production of subsynchronous rectifier cascades (SCC) like the ones manufactured by Schunk Modultechnik for vehicle radiators. With an intelligent camera from the pictor® N series, these tests can also be carried out directly on the production line even under very cramped conditions. Although the housings of the cameras in this series are smaller than a cigarette box, they still house an innovative CMOS sensor and a fast ARM Cortex-A9® processor with integrated FPGA. A powerful image processing system is already pre-installed and is compatible with the vicosys® multi-camera systems in terms of the functions it has to offer. Configuration and operation with a live image take place via a web interface, which means that the tests can be configured and controlled from any PC or tablet in the same network.
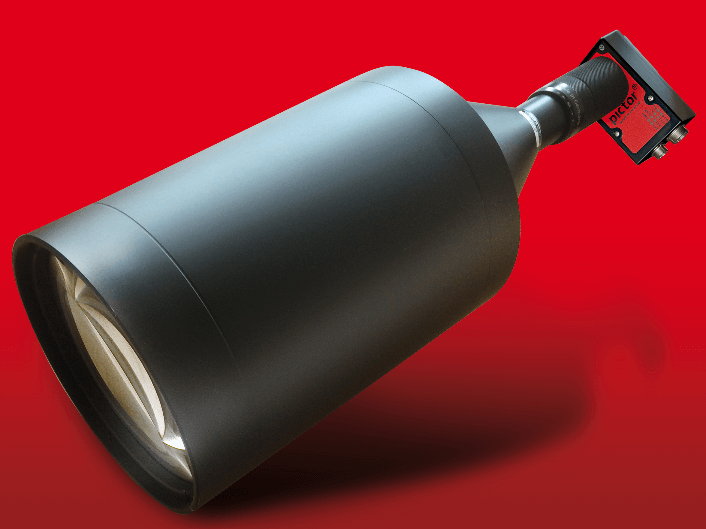
The device under testing is captured with a telecentric lens (T360/0,19a). Thanks to the parallel optical path, the telecentric optics provide an image with no distortion due to perspective. Within the depth of field, the size of the imaged object remains the same even if distances change. This means that precise and, importantly, reproducible series measurements of size, orientation, or position of the devices under testing are possible, even if the objects being inspected are not always in exactly the same location.
A large ring light from the vicolux® series ensures that good lighting with plenty of contrast is provided. In our example, this provides equally good detection of both the light grindstone housing and the dark coils.
Thanks to the graphical programming interface vcwin it is a matter of moments to put together the test sequence. After capture of the image, the function “Locate circle” initially determines the center point of the printed circuit board. Here, it follows the circular breakthrough in its center. Afterwards the command “Search pattern” is performed repeatedly to identify all components and determine their location. Based on their distances to the center, the system decides whether the assembly satisfies the defined tolerances or whether it needs to be rejected.

