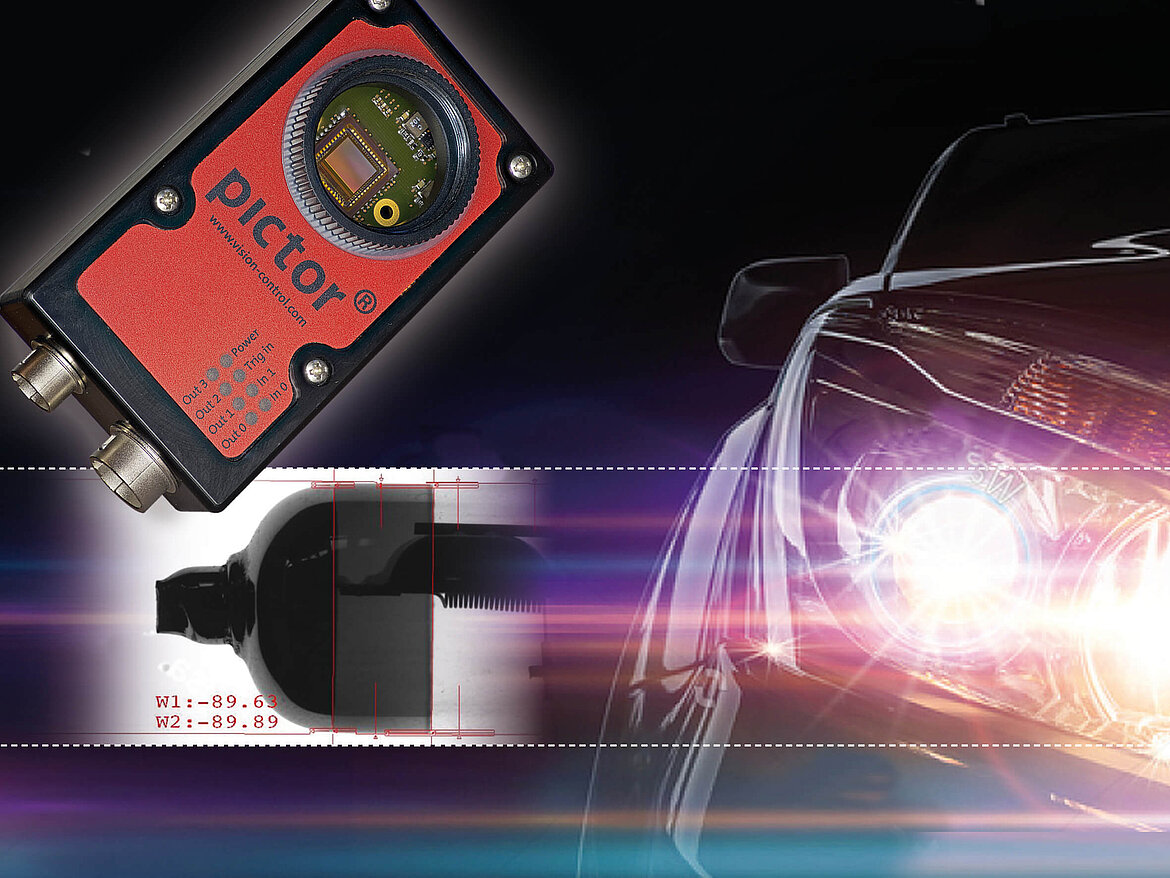
In order to improve efficiency, one or more infrared-reflecting layers are applied to H7 halogen lamps for car headlamps. These reflect the thermal radiation back onto the spiral-wound filament, as a result of which less electrical energy is required to maintain the operating temperature. This measure boosts efficiency and significantly extends the service life of the lamp. Accurate positioning and precise alignment of the reflective layers play a pivotal role here. This production step is extremely prone to faults though, because the small lamps are only fixed by their thin connecting wires.
This is why coating specialist GBneuhaus from Thuringia in Germany trusts the image processing systems from Vision & Control as part of its quality control process. Here, light is shone through the lamps after coating so that the edges of the reflective surfaces can be measured. The heart of the inspection unit is the intelligent camera pictor® M58/E, in which the hardware and software for image acquisition and analysis are already integrated. Thanks to their LAN connection and the browser-based user interface, quality control inspections can be set up and carried out from virtually any PC or tablet in the same network.
The images are supplied by the telecentric measurement lens vicotar® T151/0.26L. Thanks to its parallel optical path on the object side, this optical system depicts objects with no distortion of perspective. As a result, slight fluctuations in the positioning of the test object have no impact on the measurement result. The light required for shining through the object is provided by the diffuse surface luminaire FDL06-R633/C. At 633 nm, its wavelength is in the near-infrared range. As a result, the layers that reflect infrared are shown with higher contrast than black surfaces in the image.
Thanks to the graphical parametrization software vcwin, it is a matter of moments to put together the test sequence. With the aid of the function STRAIGHT PROBING the test program first detects the edges of the glass and then, from this, it detects the layer transitions in the next step. By combining the found edges, it is possible to calculate a vector that accurately defines the position and alignment of the vapor-deposited layers. This ensures that only perfect H7 lamps leave production.

