Optical measurement in the manufacturing process - in the process cycle and in motion
For non-contact optical metrology in the manufacturing process, it is important to have the right measuring principles, but especially robust and precise optical components. Telecentric lenses are generally used where changes in distance and position of the test object influence the measuring accuracy. They are predestined for precise measuring applications.
Telecentric measuring lenses vicotar®
compact, rugged, precise
- For the harsh requirements of production metrology.
- They have a diffraction-limited imaging quality.
- The lenses are available in the variants "variable aperture"(lockable) and "vibration-proof" (with fixed aperture).
- fixed aperture - for special requirements with vibrations or movements - e.g. for robot applications
- variable aperture - to adjust resolution and depth of field optimally for the application
- Optimal combination of telecentric lens and telecentric illumination as well as matching accessories.
- Lenses of the BLUE Vision series have particularly good imaging properties in the blue light spectrum - this enables almost doubling of image sharpness compared to the use of red light.
⇒ To the product catalogue telecentric lenses
vicolux® - Precise measurement in motion and, if necessary, also in free fall
- flashable telecentric LED illuminators
- low divergence, high flash output even in the µs range
- thus negligible motion blur, precise triggering of image capture
- connection: M8 connector on housing
- wide range of mounting options and accessories
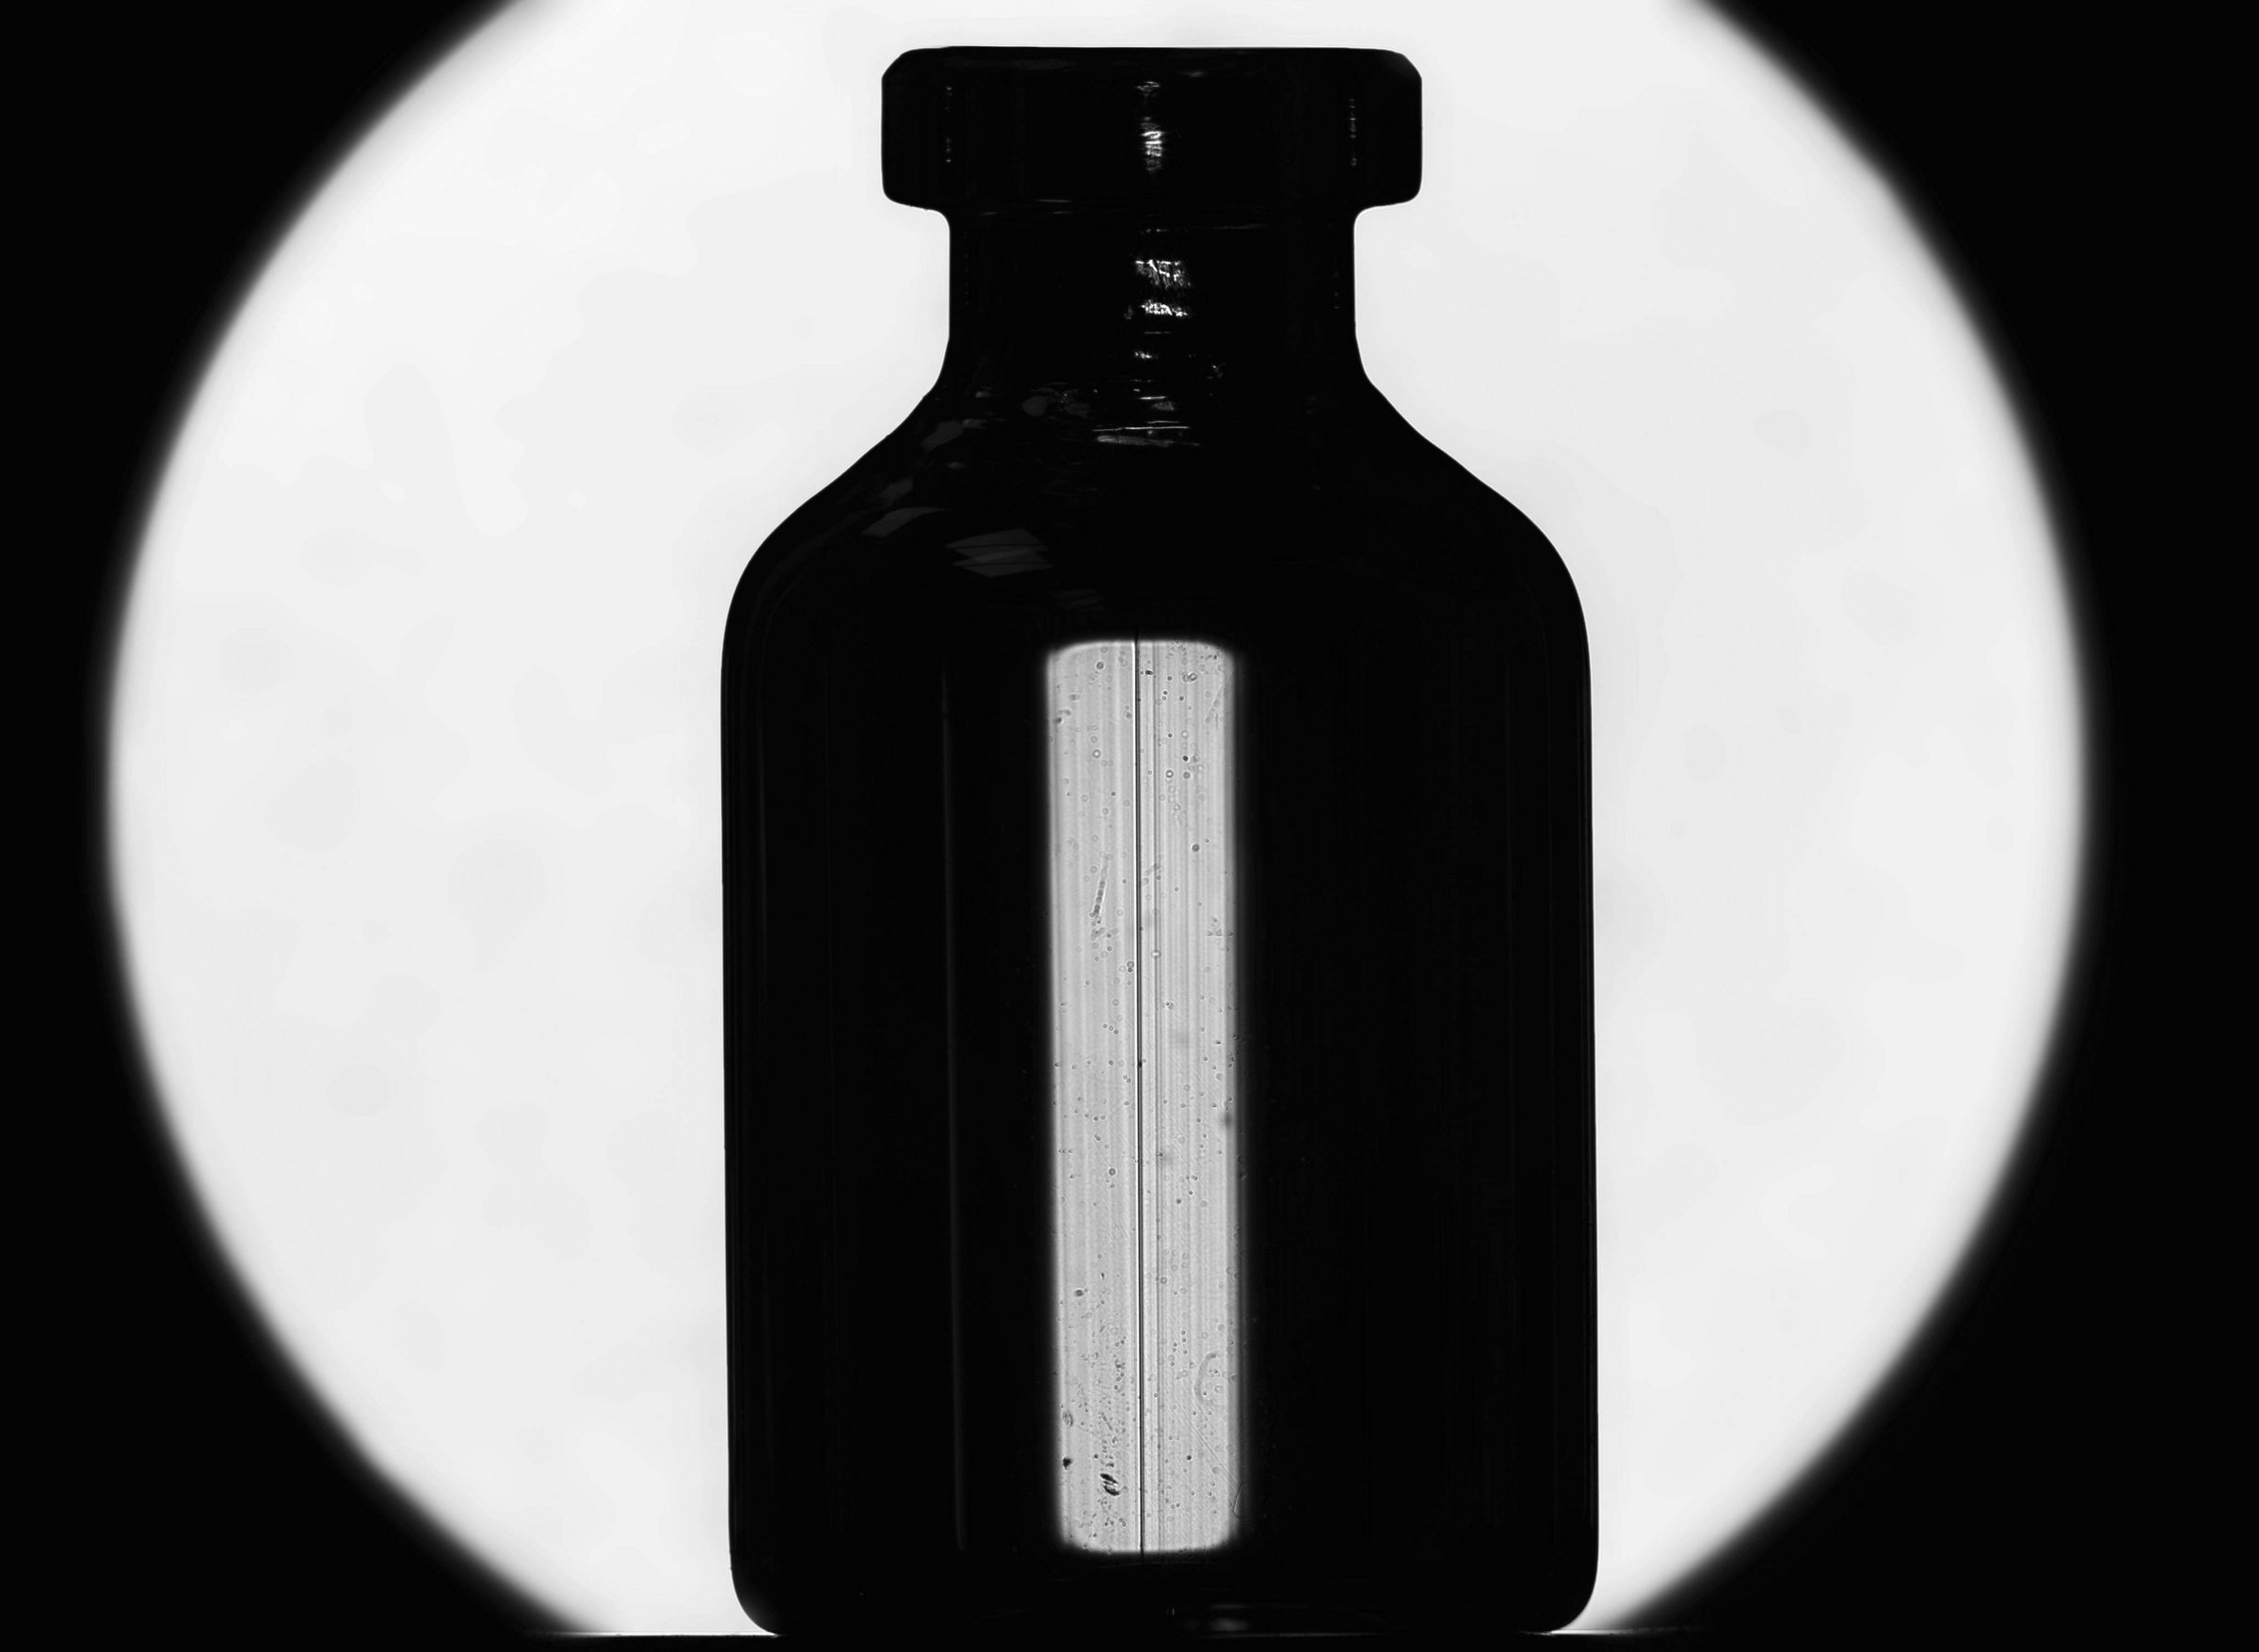
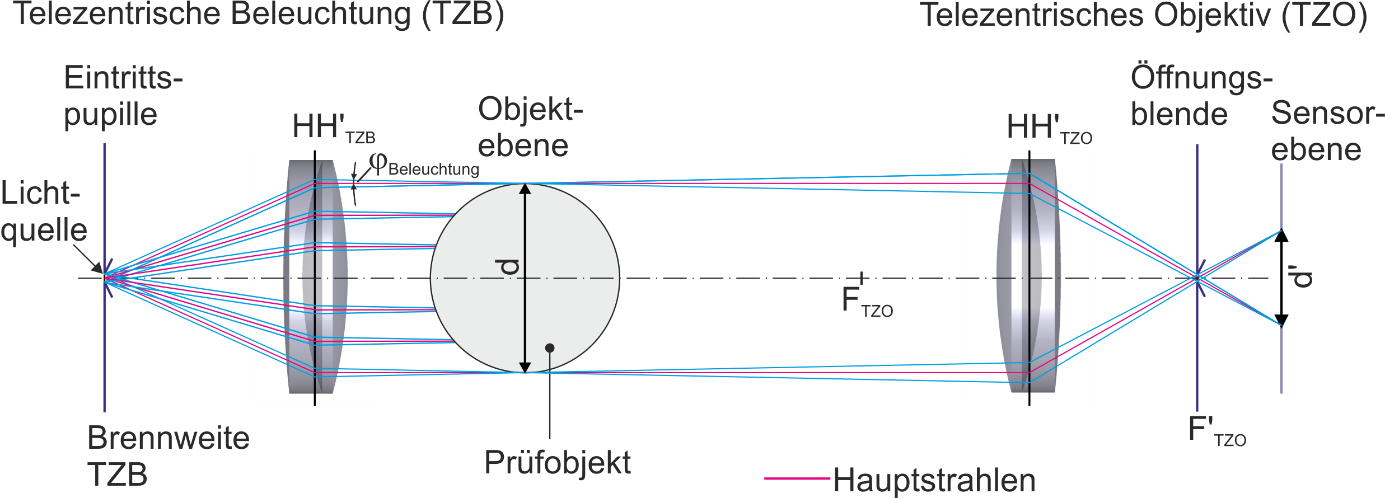
In optical metrology, telecentric lighting and telecentric lens work best together. The telecentric illumination serves the aperture of the telecentric lens. Lens aperture and illumination aperture can be optimally matched to each other by the adjustable aperture.
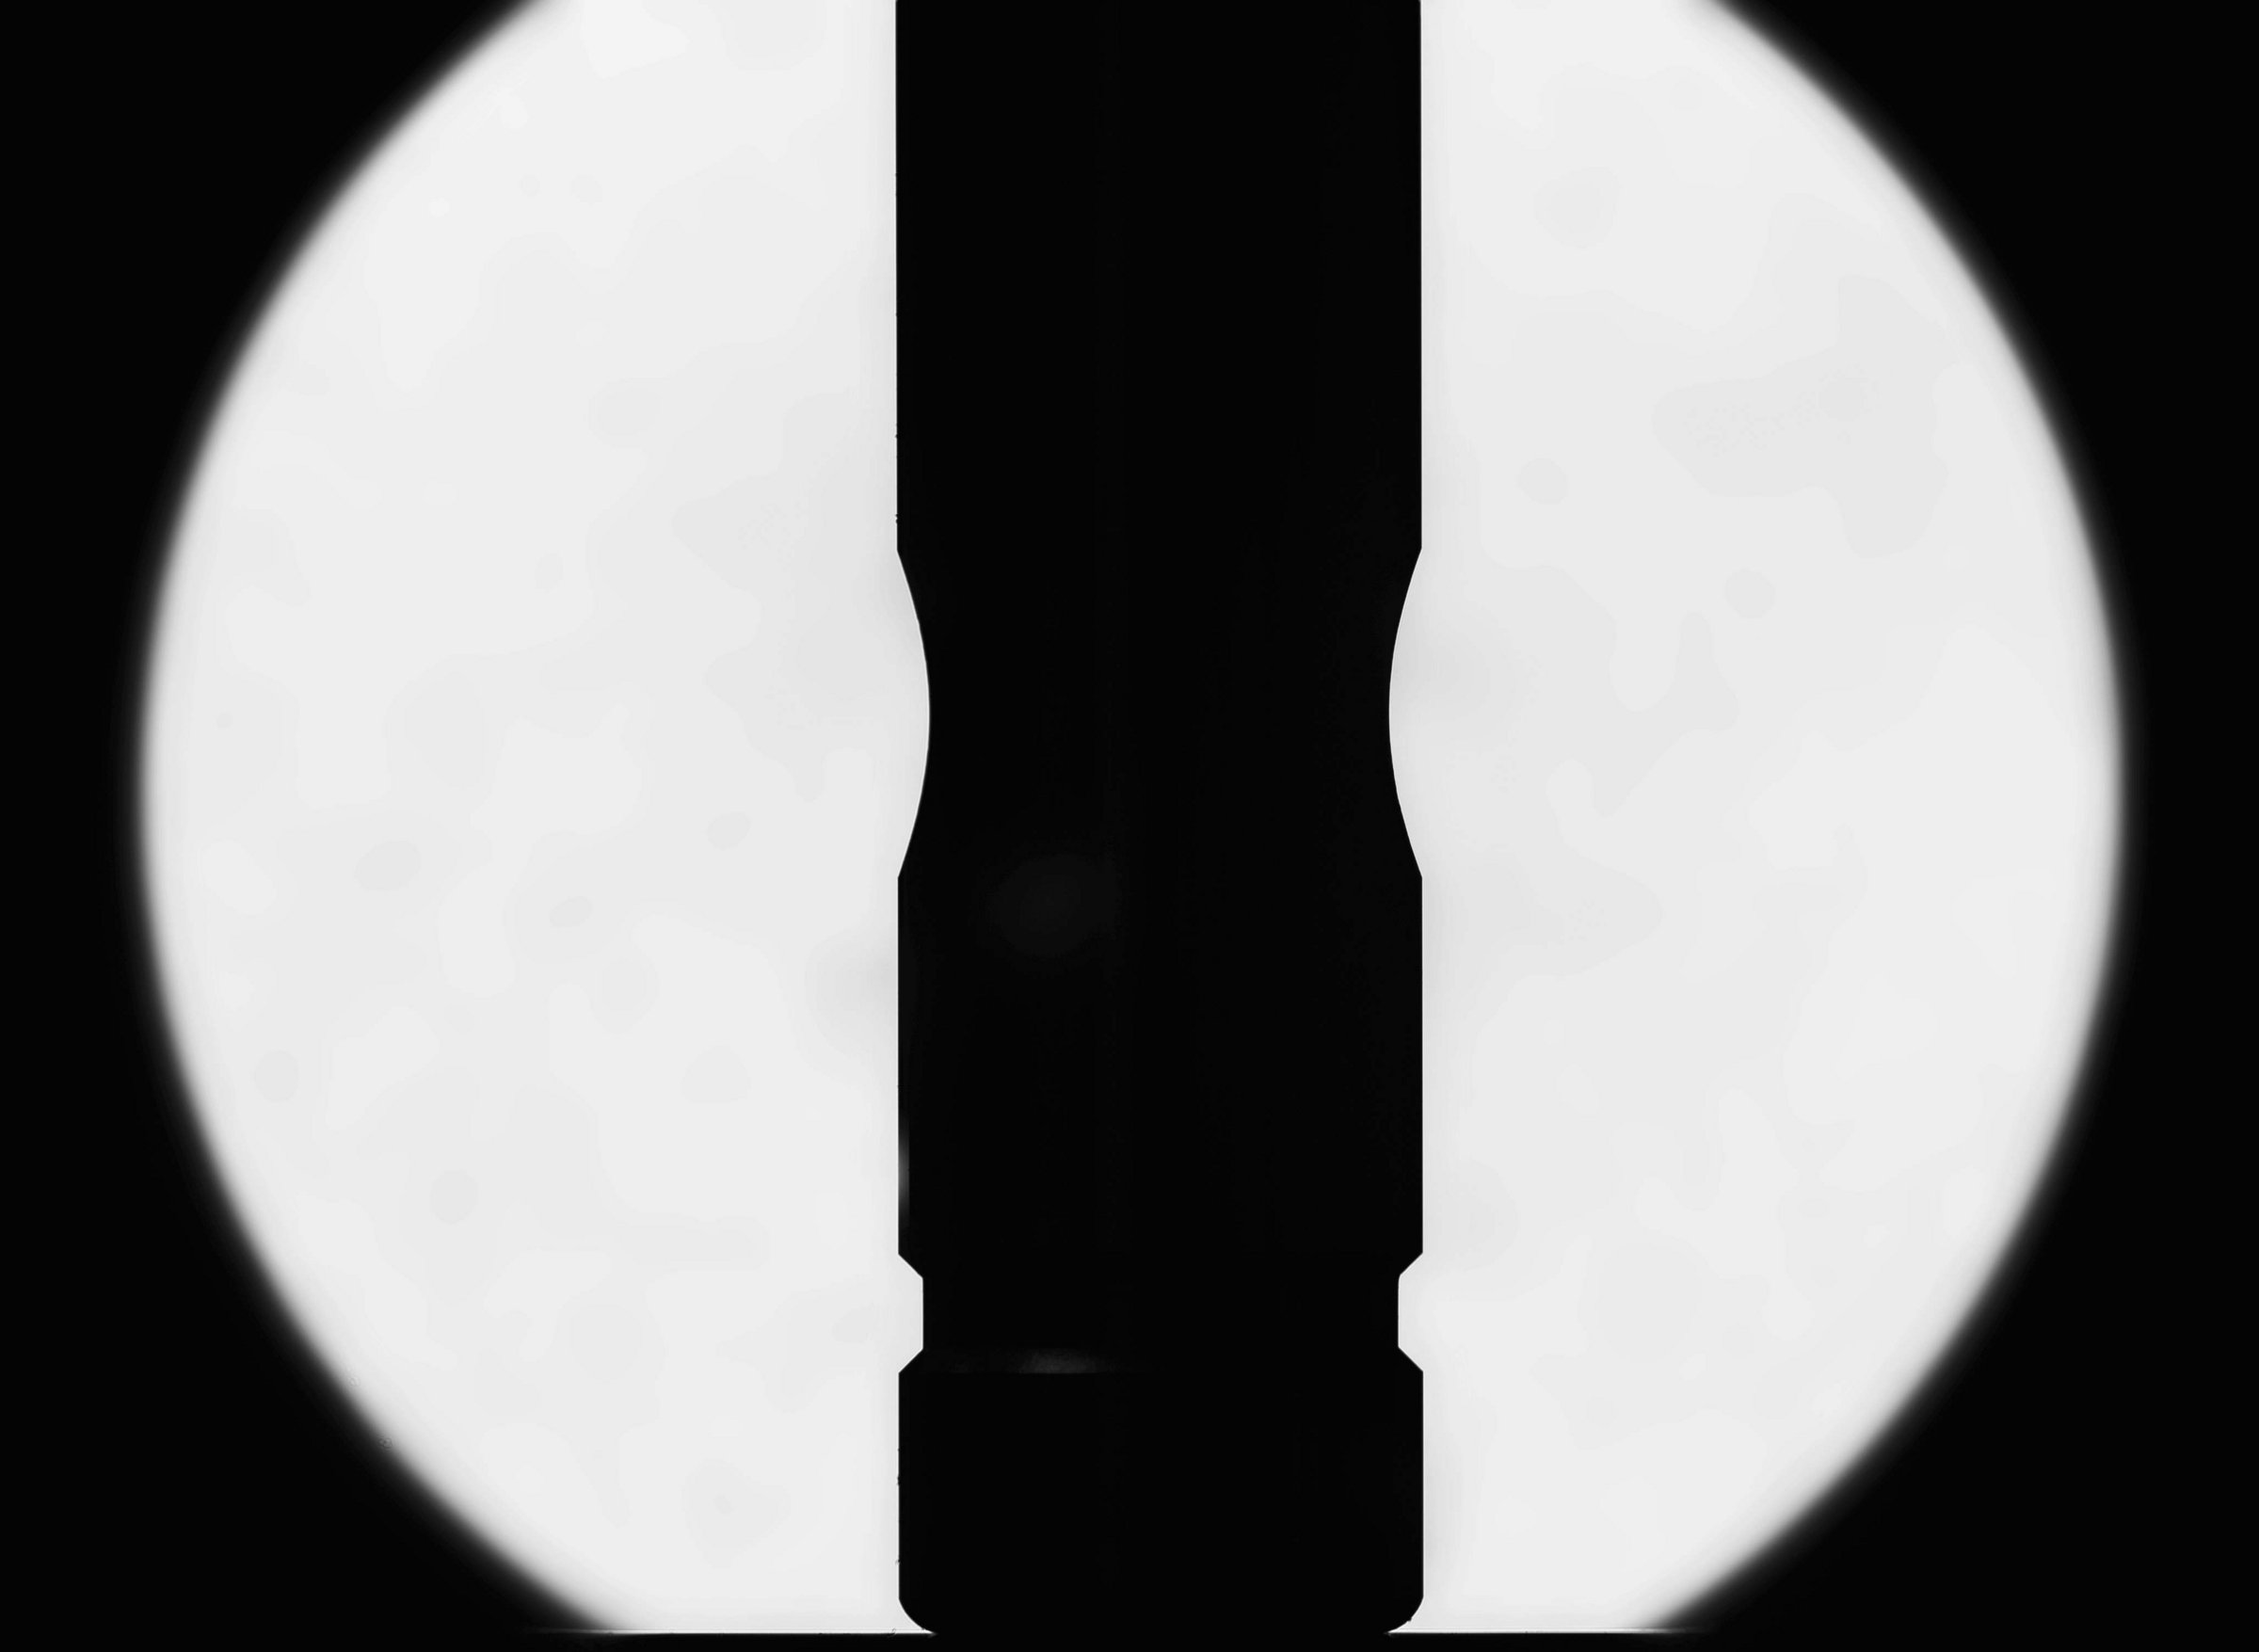
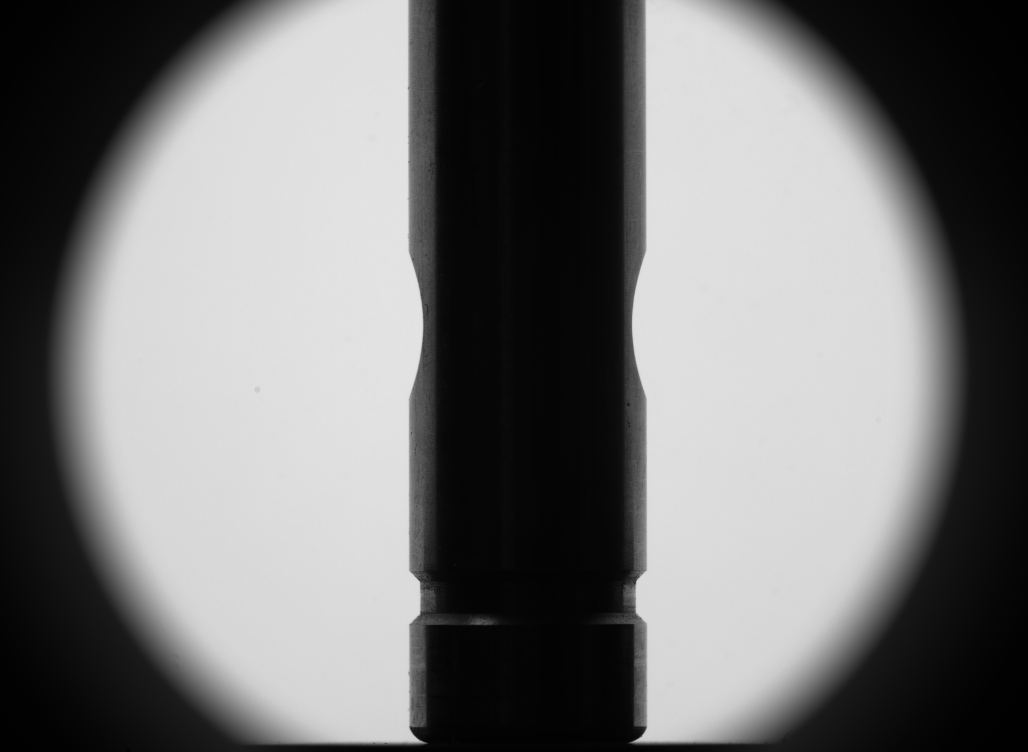
In this way, edge transitions can be mapped and detected very precisely on the sensor using the shadow casting principle. With two-dimensional illumination, on the other hand, the scattered light causes an artificial shift of the edge location. This can result in an inaccurate measurement.
The stray light apparently shifts the edge inwards. In this case, the bolt diameter at the widest point would be measured too small.
Telecentric lighting can only be used together with telecentric lenses.
Yes, ..... in the product catalogue of the telecentric lenses, under "combinable with", you will find the matching telecentric lighting.
Within the visible spectrum, monochromatic image examinations with blue light are most effective. The lenses of our vicotar® BLUE Vision series are specially designed for this spectral range. - Here they deliver maximum resolution with the greatest possible depth of field.
Resolution and depth of field are two optical parameters that work against each other. The more a lens is stopped down, the more blurred its image becomes due to the increasing diffraction and consequently the less details can be resolved. Industrial image processing, however, demands both: maximum resolution with the greatest possible depth of field. The newly developed lens series "Blue Vision" takes this demand into account. It takes advantage of the fact that the smaller the wavelength of the light used, the smaller the diffraction effects. This is reflected in the resolution in the opposite way: If the wavelength is halved, the resolution is doubled.
For example, if a lens at f-number 10 produces a diffraction disc of 8 micrometres radius with red light (650nm), then with blue light (450nm) it is only 5.5 micrometres, so the blur is almost a third less, which corresponds to the ratio of the wavelengths.
It follows from the sampling theorem of signal processing: The lower the wavelength of the illumination used, the higher the achievable optical resolution.
Therefore, within the visible spectrum, monochromatic image examinations with blue light are most effective.
The lenses of our vicotar® BLUE Vision series are specially designed for this spectral range. - Here they provide maximum measurement accuracy with the greatest possible depth of field.
The working distance is the distance between the test object and the first body edge of the optical system from the direction of the test object.
It is specified as a practical measurement for lenses in image processing.
Inserted optical components, e.g. filters, protective glasses, prism attachments and mechanical accessories must be included (magnification of the optical path length). The working distance (WD) is given in mm.
Abbreviation in German: AA
A fundamental measure of lens sizing is the determination of the field of view that can be served by the lens. The size of the field of view is either dependent on the focal length and working distance of the lens used (entocentric lenses) or it is fixed by design (telecentric and hypercentric lenses).
A lens can only produce a limited size of image, limited by constructive conditions on the lens. The image size is measured and specified for the lens at the point where the image is in focus (contact dimension). Due to the rotationally symmetrical construction of almost all lenses, the surface on which the image is formed is a circle. Thus, the maximum image circle diameter is often specified for lenses. Alternatively, the maximum usable image sensor size is given.
The ratio of the image sensor size to the field of view size results in the magnification / reduction - the image scale. It has a significant influence on the pixel resolution, i.e. which smallest details can be recognised by the image sensor.
With entocentric lenses, the magnification can be changed by changing the working distance. If the distance is reduced, the magnification becomes larger.
With most telecentric lenses, the magnification and thus the field of view is fixed by design and cannot be changed.
The optical construction of telecentric lenses is relatively long due to the principle and requires sufficient installation space.
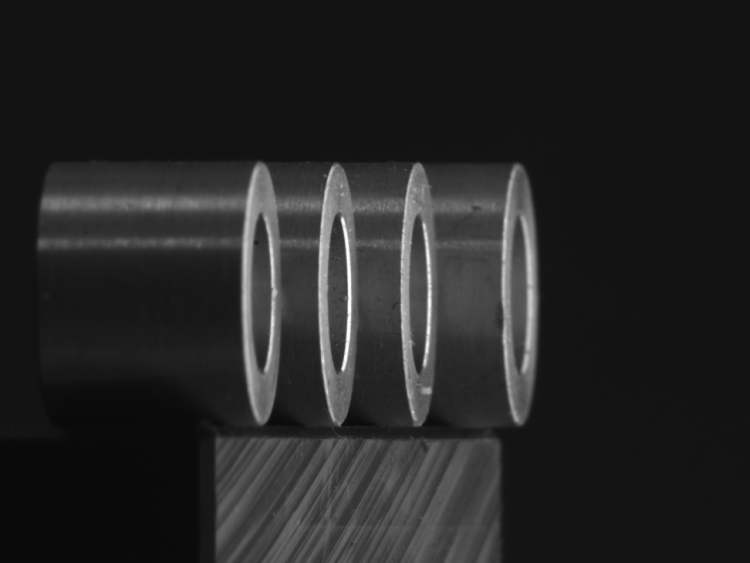
In any case, an exact alignment between lens, test object and illumination in several axes is necessary. If this is not done, considerable errors can occur due to parallel projection, especially with deep test objects. Optical test equipment for alignment → alignment aids are used.
Optical adjustment aid for right-angled alignment of telecentric lenses to the test object. This avoids measurement errors caused by incorrect alignment of the test object to the telecentric lens (parallel projection). Two factory-aligned plane glass plates with crosshairs are brought into alignment by adjusting (tilting) the telecentric lens by 2 tilting axes. Once this has been done, it can be assumed that the optical axis of the objective is aligned perpendicular to the support surface of the adjustment aid with only slight deviations.
To realise such high-precision measurement set-ups, our components can be supplemented with the appropriate accessories.
Space problems and changes in the direction of observation can be achieved with deflection mirrors. This, as well as the matching holders, can be found in the product catalogue on this website.
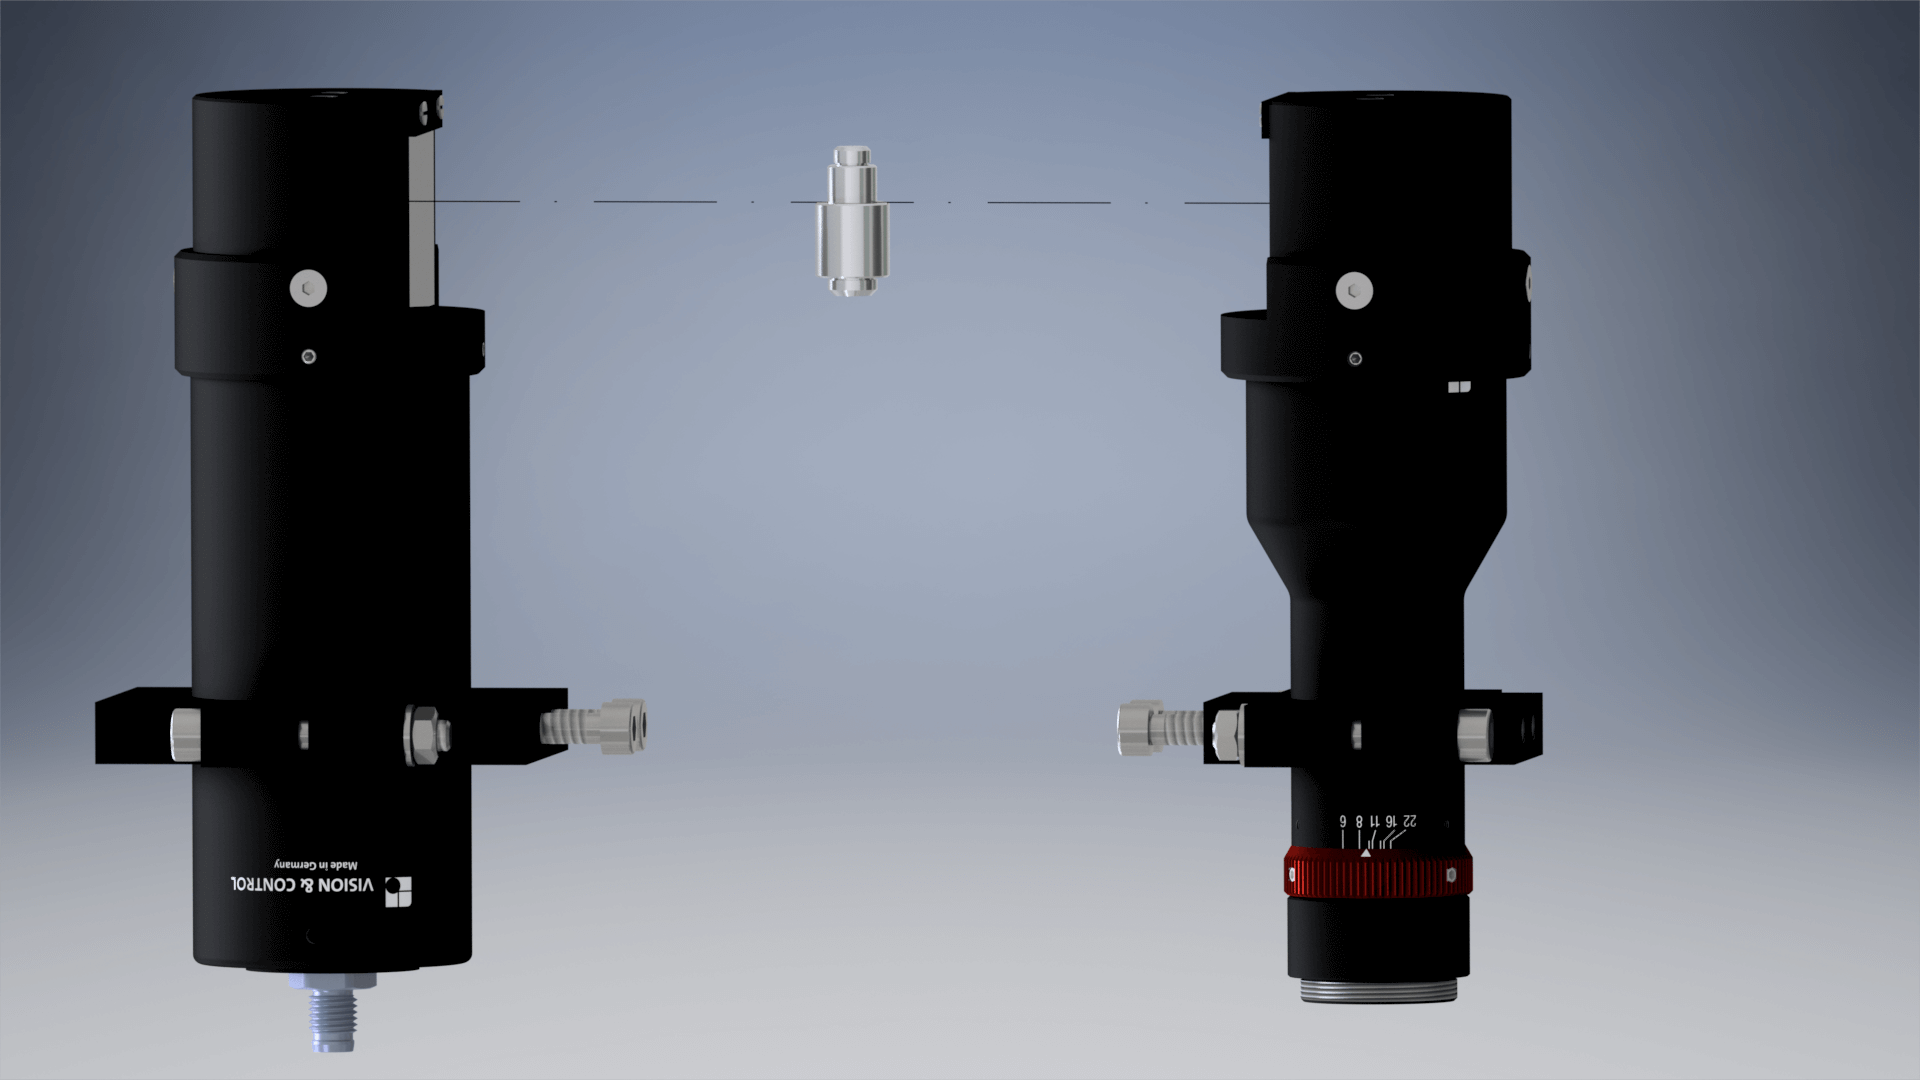
Measuring set-up with angled telecentric lighting and angled telecentric objective.


