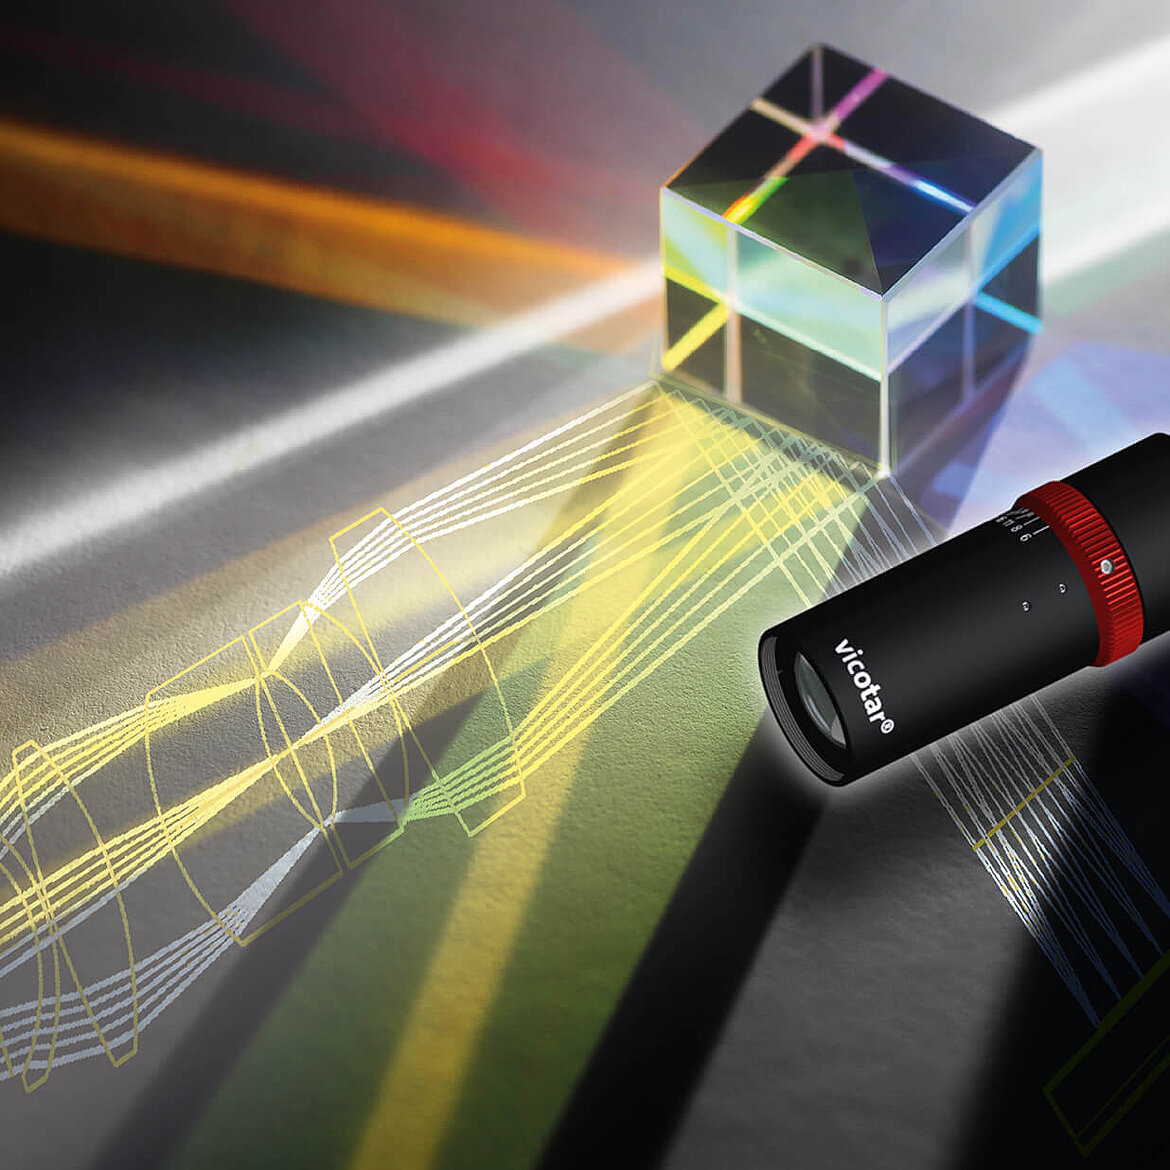
AI and new optical inspection methods such as hyperspectral analysis with IR or polarization imaging are currently driving optical quality control forward. Multi-aperture and multi-measurement point lenses are speeding up inspection procedures. Both are important factors in being able to manufacture quality products profitably, even in high-wage countries.
AI on the rise
The use of artificial intelligence (AI) is currently experiencing a remarkable upswing in all areas. Industrial image processing is also being increasingly influenced by it.
AI-supported systems analyze image data with extremely high precision and detect even the smallest anomalies that are difficult for conventional systems to identify. This not only detects current errors at an early stage and significantly reduces rejects, but also predicts future problems through analysis and pattern recognition. This helps to minimize downtimes and extend the service life of machines and systems.
Immediate feedback
Immediate feedback automatically adjusts production parameters and optimizes production quality. The ability of AI to learn from experience
makes it an indispensable tool in modern manufacturing and quality control. It helps to make production lines more flexible, increase product quality and reduce operating costs.
Especially in high-wage countries, its use is a decisive competitive advantage - but only if the image sensor, optics and lighting are also carefully adapted for use with AI. Image processing specialists such as the experts at Vision & Control supply optical inspection systems from a single source for automatic quality assurance.
New insights with spectral imaging investigations
Spectral imaging uses the characteristic reflection and transmission properties of materials in the electromagnetic spectrum for analysis.
This allows a wide variety of materials to be clearly identified. The near infrared range and, in particular, the short-wave infrared spectrum (SWIR = Short-Wave Infrared) offer quality assurance amazing possibilities for analysis, for example when materials change from reflective to transparent and vice versa.
Extreme sensitivity
Newer SWIR sensors, especially those based on InGaAs (indium gallium arsenide), are very sensitive and have a high resolution. In addition, they are now so compact and energy-efficient that their use in mobile and space-saving applications is also facilitated. This opens up completely new possibilities for industrial image processing with hyperspectral analyses. However, these examination methods also place very high demands on the optics used. In particular, color correction (chromatic correction), stray light management and consistently high
high transmission throughout (light transmission) are required here.
Detecting errors at an early stage with polarization
Polarization optics and imaging are also currently undergoing exciting developments that are driving both research and practical applications in many areas.
areas.
Polarization is a physical property of electromagnetic waves and therefore also of light. It describes the direction of oscillation of the electric field of these waves. Through the targeted use of polarizers, polarizing lighting and polarizing filters in optical systems, defects or inclusions in glass or transparent plastics, for example, become visible with high contrast that would otherwise be barely visible or not visible at all. Special polarization camera chips can also be used to calculate the angle and degree of polarization. This makes it possible, for example, to detect stresses
in glass - a major advantage in quality control. But it also opens up new options for inspecting surfaces.
Fast testing with multi-aperture and multi-measurement point lenses
Time is a decisive competitive factor in industrial production. Short throughput times and efficient use of production resources make a significant
contribute significantly to reducing costs and increasing productivity. The integration of several inspection steps and inspection technologies in a single inspection station with multi-aperture lenses accelerates this process. For example, through the simultaneous inspection of surface quality, dimensional accuracy and material properties. With such lenses, different cameras can cover different spectral ranges or measurement methods, enabling comprehensive quality inspection in a single step.
Conversely, multi-measurement point lenses offer the possibility of imaging several inspection points at one inspection station on a single camera sensor. This not only reduces the number of cameras and sensors required, but also simplifies integration into existing production lines.
Conclusion
The requirements for quality assurance are as varied as the products themselves. Off-the-shelf solutions will not get you very far here.
OEM service providers such as Vision & Control GmbH have decades of experience in industrial image acquisition and evaluation.
With our wide range of lenses, lighting and camera systems from a single source, we master the diverse challenges for our customers' applications. Andreas Wegner-Berndt, Managing Director of Vision & Control GmbH, says: “Our catalog of lenses, lighting and vision systems is the showcase for our technologies and quality and is usually an important starting point for customer-specific adaptations.”
published in PC&Industrie 10/2024

